A spic-and-span commercial kitchen area is very crucial, for workplace health and safety legislation as well as Food Safety Standards. When it comes to normal upkeep, commercial cleaning does not need to be a specifically tough or lengthy job. You may also consider outsourcing your cleaning services. There are many cleaning companies in Australia and New Zealand that take on commercial cleaning contracts for this type of work and can usually work while the establishment is closed. If you would like to handle things yourself, it can be done easily if you take the time and follow some simple tips. The best method to cleaning up a commercial kitchen area is to split the task up into a collection of smaller sized jobs. Adhering to this principle, here are some guidelines on ways to skilfully tidy up and disinfect tough surface areas, many non-carpet floor coverings, as well as garbage and recycle areas.
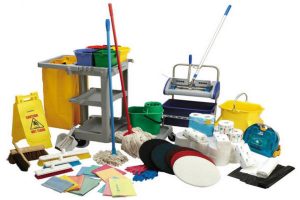
Here’s what you’ll require:
– bucket or pail – preferably, an actual mop bucket
– dustpan and broom
– a mop
– lint-free or microfiber towels and paper towels
– scrubbing pad – non-abrasive
– soft brush (that’s not used for food)
– a multi-purpose cleaner
– a flooring cleaner
– Non-reusable gloves (if you have a sensitivity to cleaning chemicals).
Cleaning up Difficult Surface areas.
– Clear the area by moving items to another location or off to the side.
– Wipe or brush and loose particles from the surface area, right into a wastebasket.
– Holding the container 8-12 inches far from the surface area to stay clear of over-spray, spray the Multi-Purpose Cleaner into the location you’re cleaning up.
Tips:
o If you’re in a customer area, wait until they’re gone or spray away from the direction they’re located. Spraying directly onto the paper towel rather than the surface will also work well.
o to prevent streaks, wipe smaller areas as you go. If spotting takes place, you’re probably using too much product. Use less product, and allow the product to work and then wipe and allow it to dry. (Polishing is not necessary though you may want to give it one more wipe).
o to correctly sanitize, leave the disinfectant products on the surfaces the required time indicated on the label.
– When the surface area is completely dry, Move the items you originally moved back to the area. Be sure to wipe the bottoms of the items with a dampened cloth used to disinfect so as to not contaminate the surface.
– trash the gloves and wash your hands before moving to the next area
Cleaning up Non-Carpet Floor coverings.
Clean-and-disinfect treatment:
o Start by sweeping up the floor to remove any debris.
o Then mop the flooring with a solution of warm soapy water. Follow the directions on the cleaning and use the proper ratios of cleaner to water.
o Then, mop the flooring once again with a clean fresh pail of warm water to tidy up any residue of soap.
Disinfecting.
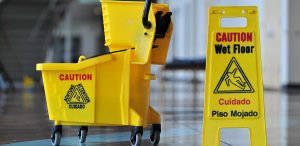
o Place a warning sign or marker in the location you’re mopping to warn clients and employees that the floor may be wet and slippery.
o Fill your mop bucket with some warm water as directed.
o Mix the proper ratio of disinfectant to water as instructed on your product.
o Set the mop to soak in the bucket and make sure it is completely immersed.
o Gently squeeze out the mop in the press, but not too hard. You want to ensure to thoroughly wet your floor. The surface area should continue to be damp for 10 mins to properly sanitize.
o Beginning farthest from the kitchen door area, work your mopping swipes in about a 10 ft. square area.
o Then move onto the next area, and so on until you work your way towards the exit doorway
o to decontaminate greatly stained surface areas, repeat Tips 4 with 7. Permit the surface area to air completely dry.
o Remove your signage only after the floor is completely dry.
Clean up the Garbage Cans.
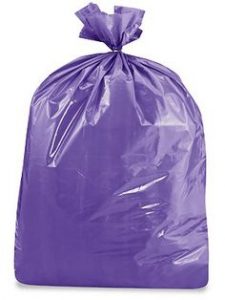
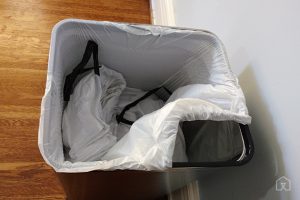
o Get rid of each bag from every wastebasket.
o Ensure that no fluid, from the bags, leak onto the flooring.
o Making use of a Disinfecting Cleaner, scrub the containers well using a non-food brush.
o Rinse thoroughly with warm water.
o Dispose of the rinse water into your mop basin.
o Leave the containers to dry completely.
o Re-line the containers with new bags.
o Replace all container back to their required locations.